Quickstart
This quickstart guide is a short set of instructions for setting up the necessary dependencies and installing the Playworks Plugin, creating a develop build, and uploading your project to Unity Playworks.
1. Set Up The Dependencies
Install Unity
Playworks Plugin is compatible with the following Unity versions:
- 2020.3.16 or higher
- 2021.3 (LTS)
- 2022.3 (LTS)
You can download Unity from the Unity download archive.
Installing Dependencies
- Windows
- Mac
Independent Development Environment (IDE)
You can develop using whichever IDE is most convenient for you. If you don't have an IDE then as a recommendation, we would suggest to download Visual Studio since you can also install .NET by using its installer.
Install .NET 4.7
You will need to download .NET package to have the correct framework and libraries to work with Plugin. .NET is required for C# (gameplay code) to JavaScript (gameplay code) conversion.
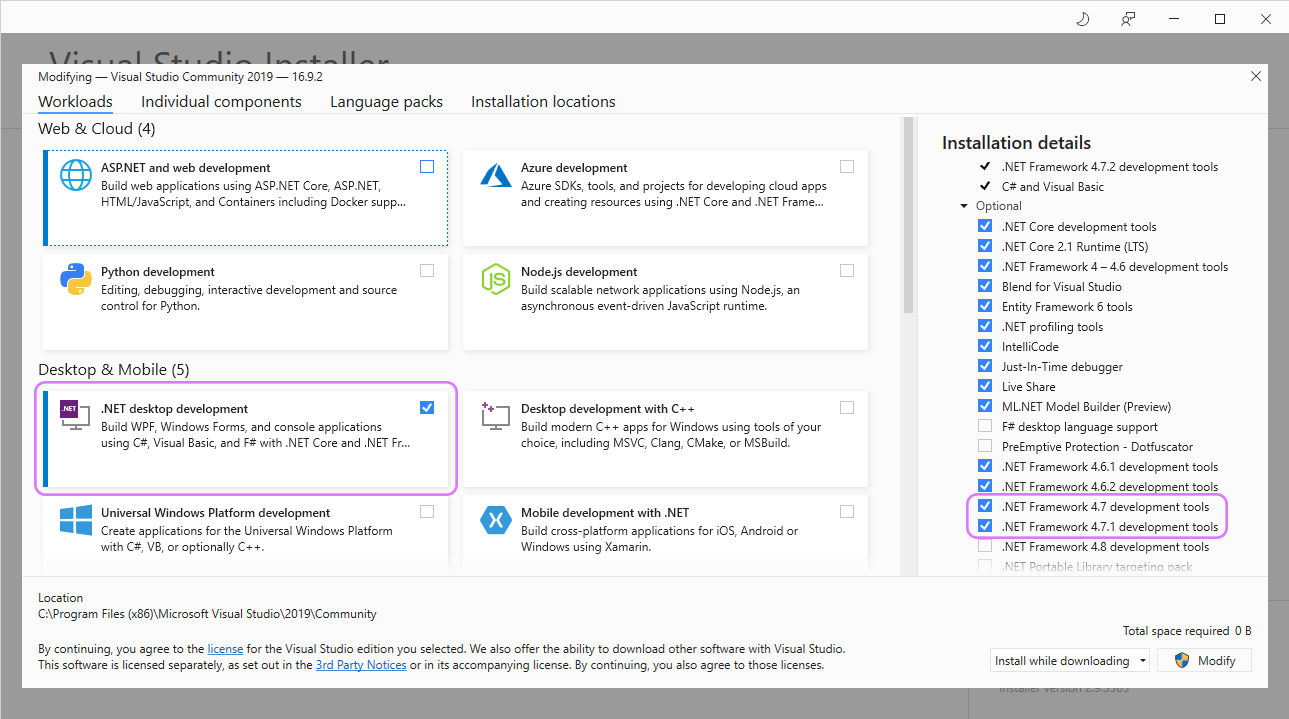
If you are on Windows, you can download .NET 4.7 developer pack, or you can use Visual Studio Installer:
- Click the 'Modify' button next to the version of VS you are using
- From the window opened select
.Net desktop development - In the right hand side of the window (Installation details) new items will appear
- Select .NET 4.7 and above (Example of this below)
- Next navigate to the 'Individual Components' tab
- Search in for '.NET' and select the 4.7 SDK & targeting pack items (Example of this below)
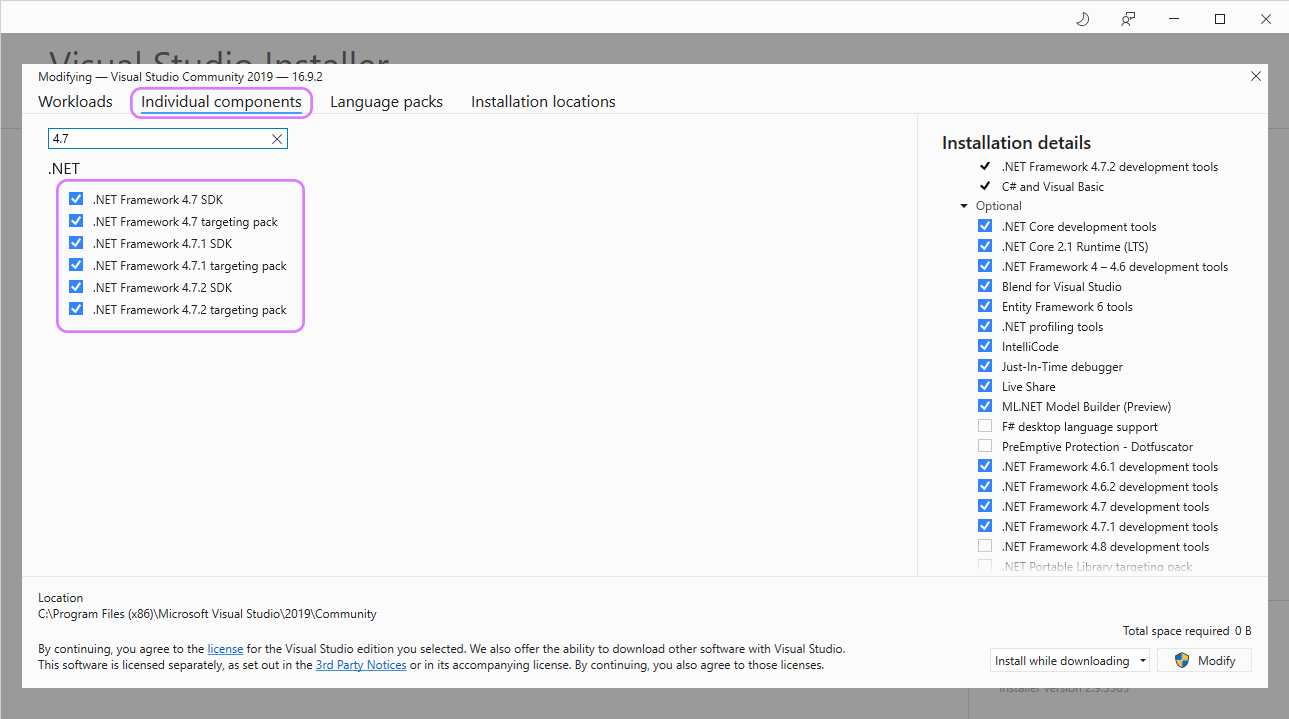
- After selecting all these hit 'Modify' in the bottom right and let the items install
MS-Build
MS-Build is a build tool provided by VisualStudio/Mono.Frameworks and is used to compile code packages for Playworks Plugin. thus is crucial to certain build stages.
For Windows MsBuild is usually located inside:
C:\Program Files (x86)\Microsoft Visual Studio\2019\Community\MSBuild\Current\Bin\MSBuild.exe
If using windows, it is possible to install MSbuild through the visual studio build tools package, which includes the .Net desktop development workload mentioned above. Build tools can be found here.
In some cases Unity Playworks Plugin could be failing to compile relating to an issue with a missing .NetFramework assembly. Try installing each of the .NetFramework 4.x targeting packs and SDKs through the visual studio installer mentioned abov
Independent Development Environment (IDE)
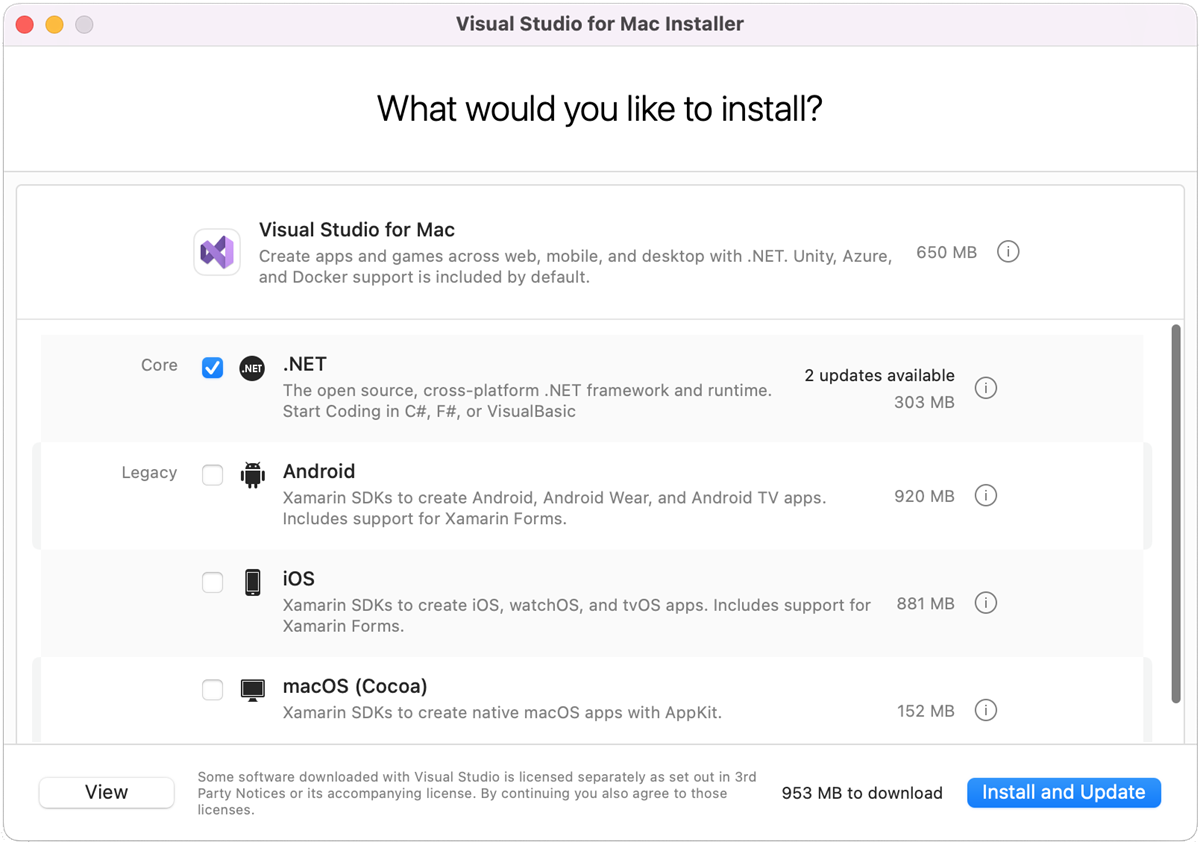
You can develop using whichever IDE is most convenient for you. If you don't have an IDE then as a recommendation, we would suggest to download Visual Studio for Mac (use the installer to also get .NET).
Install .NET
You will need to download .NET package to have the correct framework and libraries to work with Plugin. .NET is required for C# (gameplay code) to JavaScript (gameplay code) conversion.
If you are on Mac, Visual Studio for Mac can be downloaded and together with the .NET core. Just check the box when installing the IDE.
In case you encounter any problems, you can install .NET through brew by running the following command:
brew install --cask dotnet-sdk
The next step will be installing the Mono framework.
Mono Framework
If you are on Mac, you will need to install the Mono framework which will also contain the MSBuild tool needed to compile code packages for Playworks Plugin.
To install Mono, you can use the package manager brew and run the following command in terminal:
brew install --cask mono-mdk
Once the download is successful, Mono will be installed into your machine and you will be able to install and create a build with Playworks Plugin.
MS-Build
MS-Build is a build tool provided by VisualStudio/Mono.Frameworks and is used to compile code packages for Playworks Plugin. Thus is crucial to certain build stages.
For Mac MsBuild is usually located inside:
/Library/Frameworks/Mono.framework/Versions/Current/bin/msbuild
For Mac users: for any issue with MSBuild make sure you've installed the Mono framework first and that the file is in the directory above
2. Install Playworks Plugin
Login to the Unity Playworks website and download the latest version of Playworks Plugin. Make sure you unzip the downloaded Playworks Plugin to a location outside of any project.
Open the Package Manager in your Unity project:
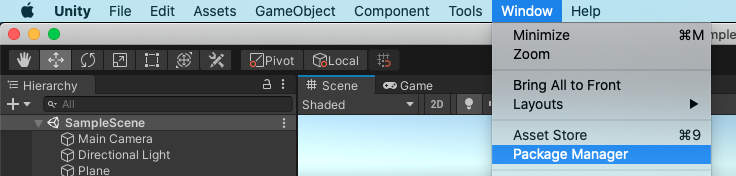
Click on the + button and select Add Package from Disk.
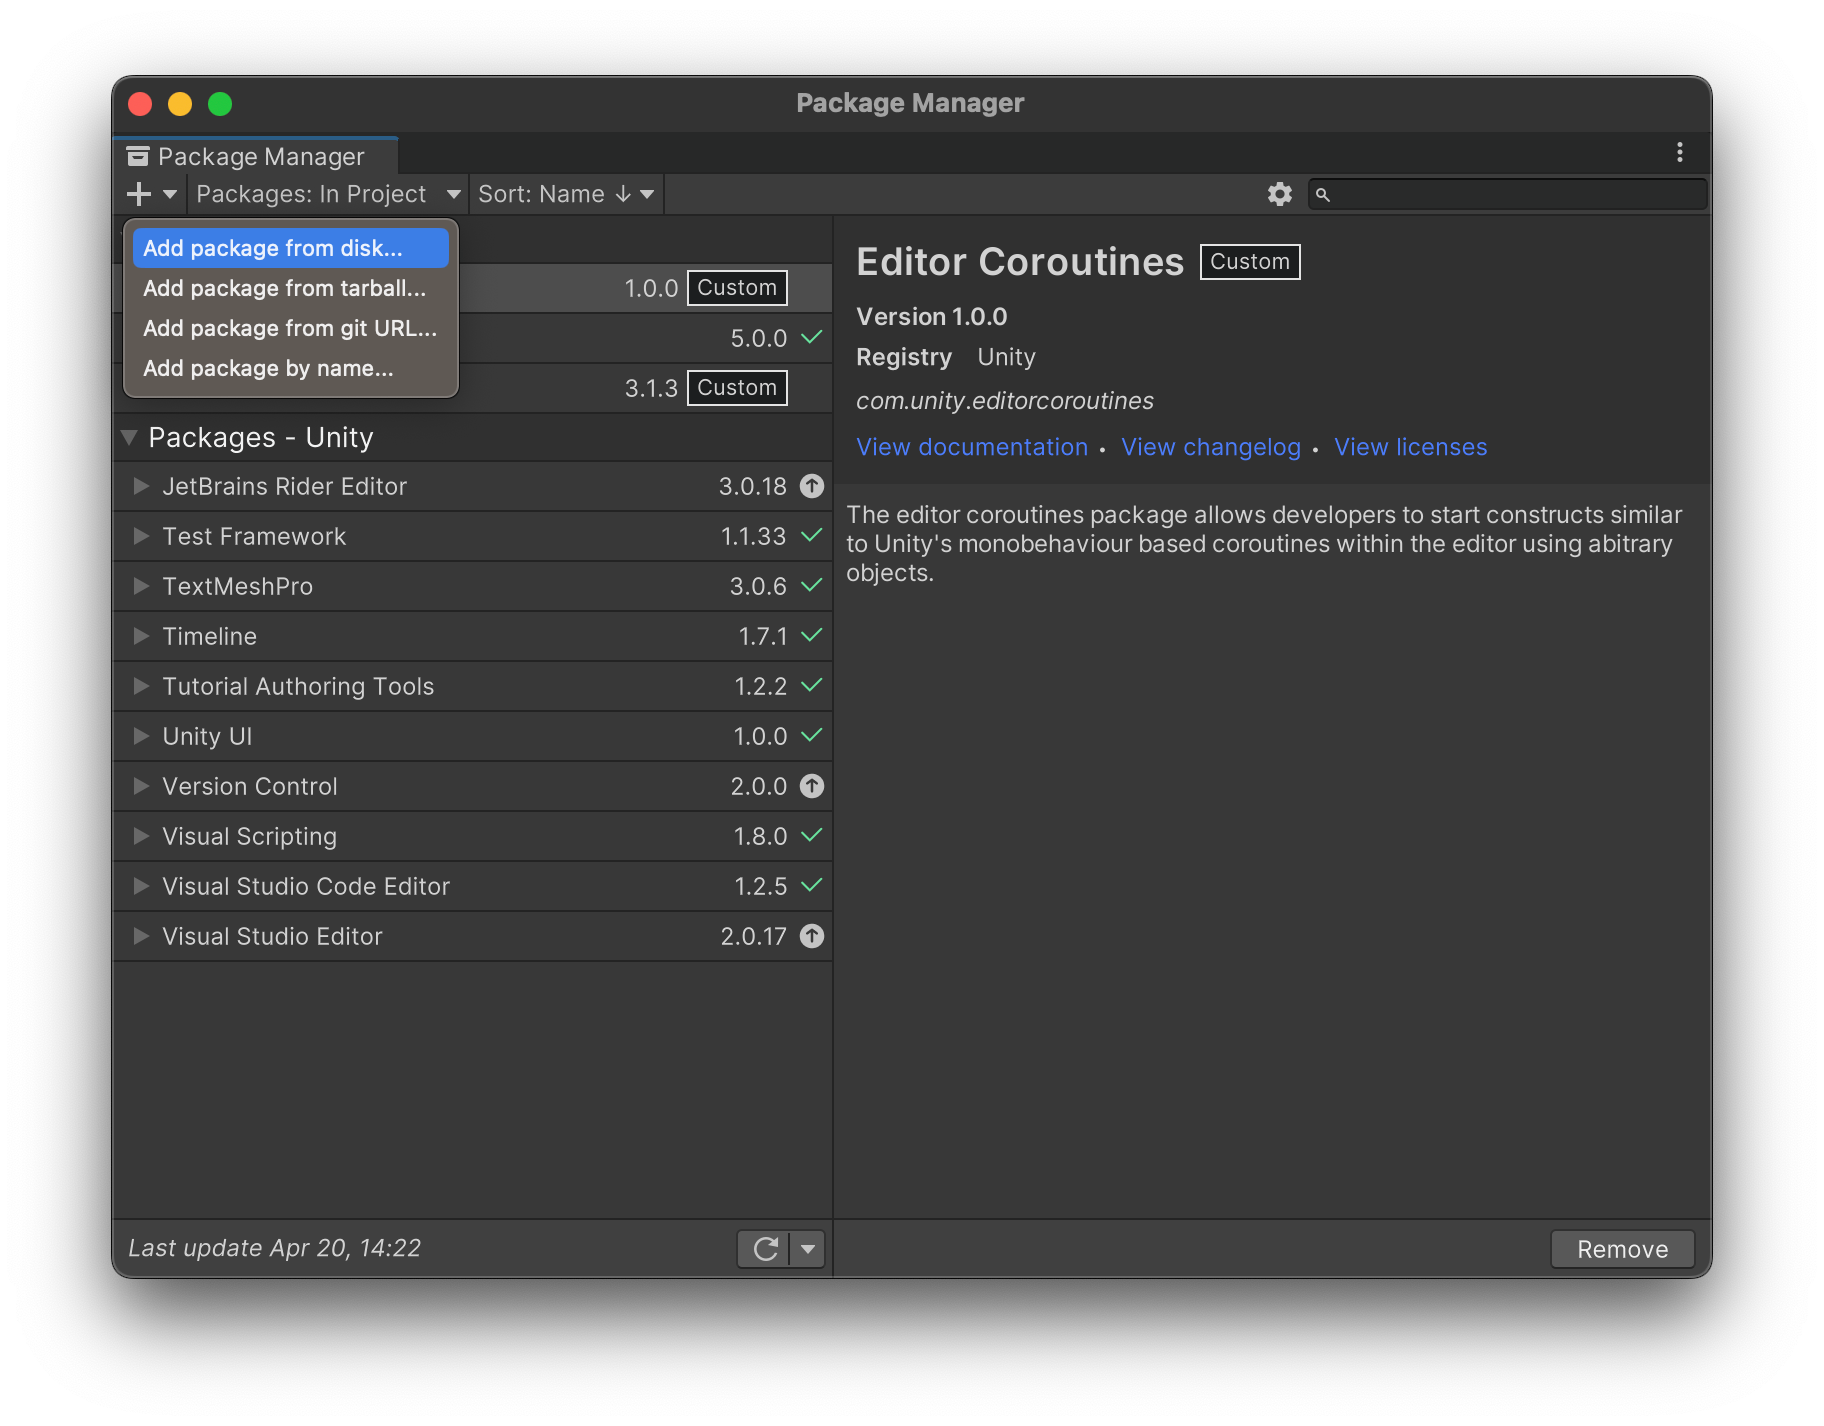
Select the package.json file in the script folder of the Playworks Plugin directory.

After the completion, you can either select Tools and click on Playworks Plugin, or use the shortcut cmd+E if you're on a Mac, or ctrl+E if you're on Windows.
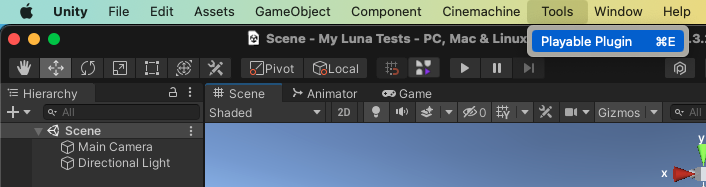
This will open the Playworks Plugin window.
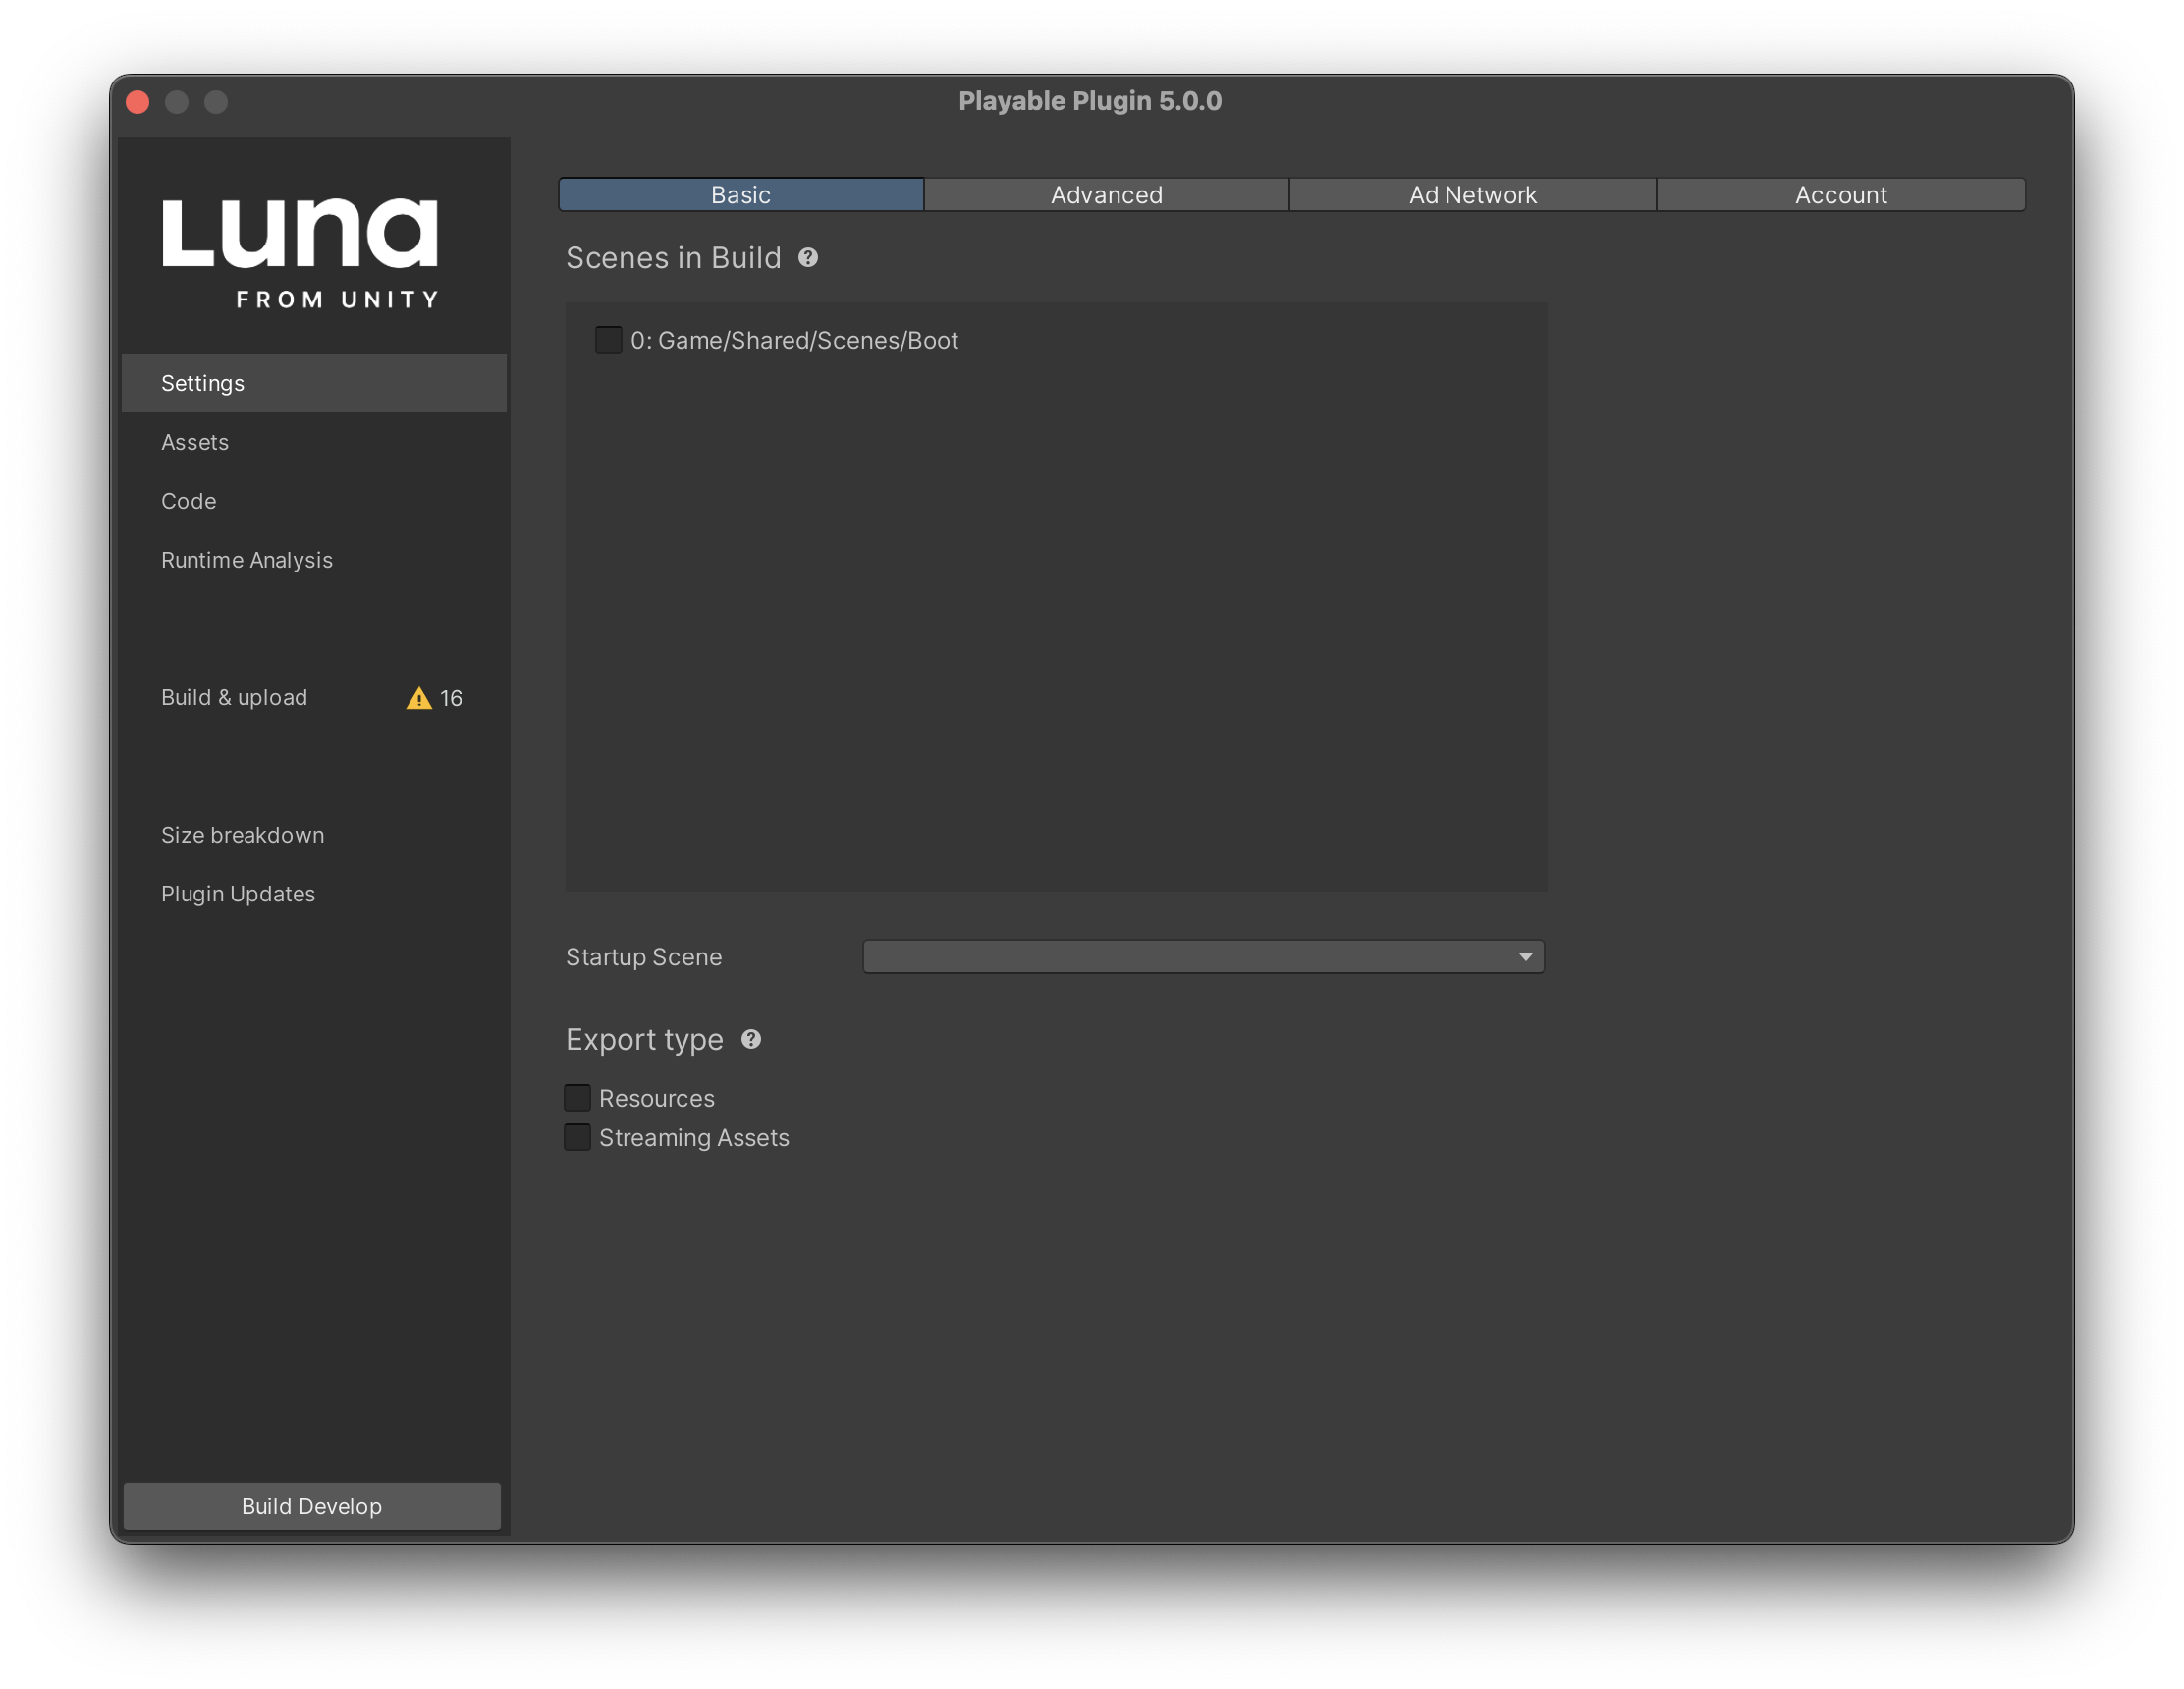
3. Verify The Installation
We recommend creating a new Unity project to test whether Playworks Plugin works properly.
- Select the scenes to include in the export, and your startup scene. For more info on this step click here.
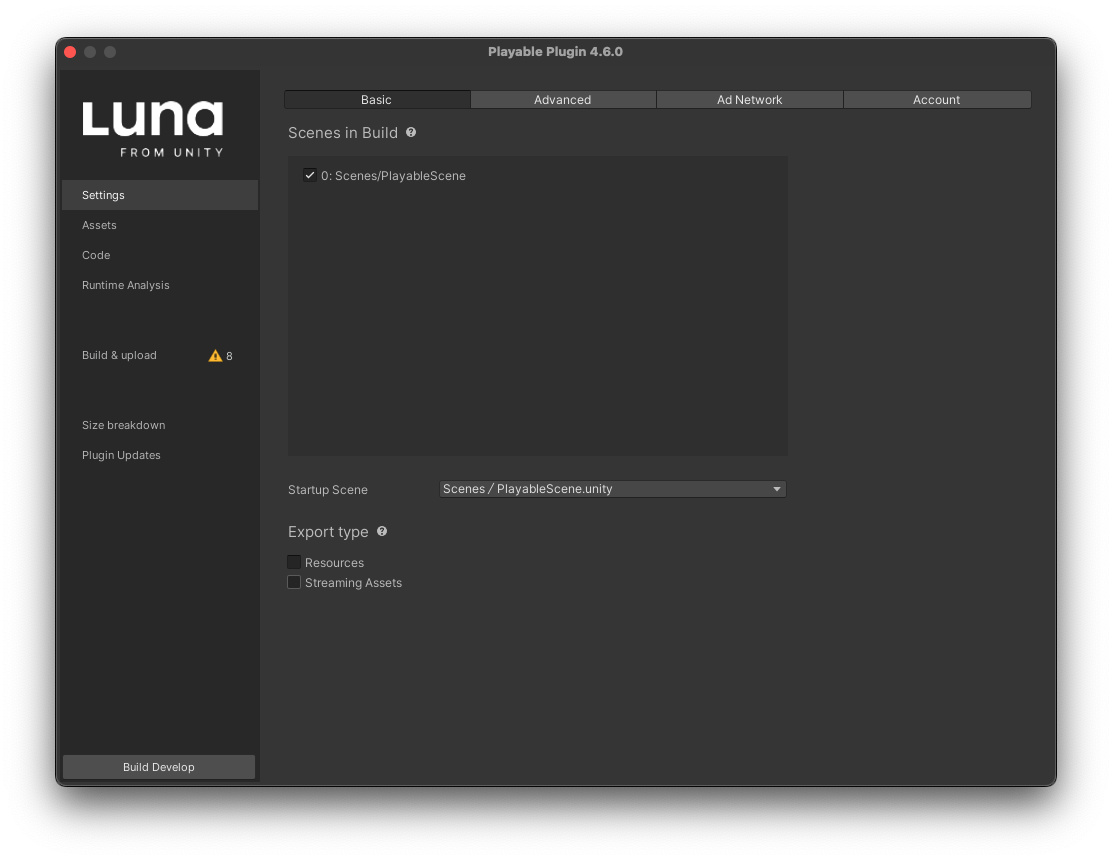
- Select the Build & Upload tab and click on Build Develop.
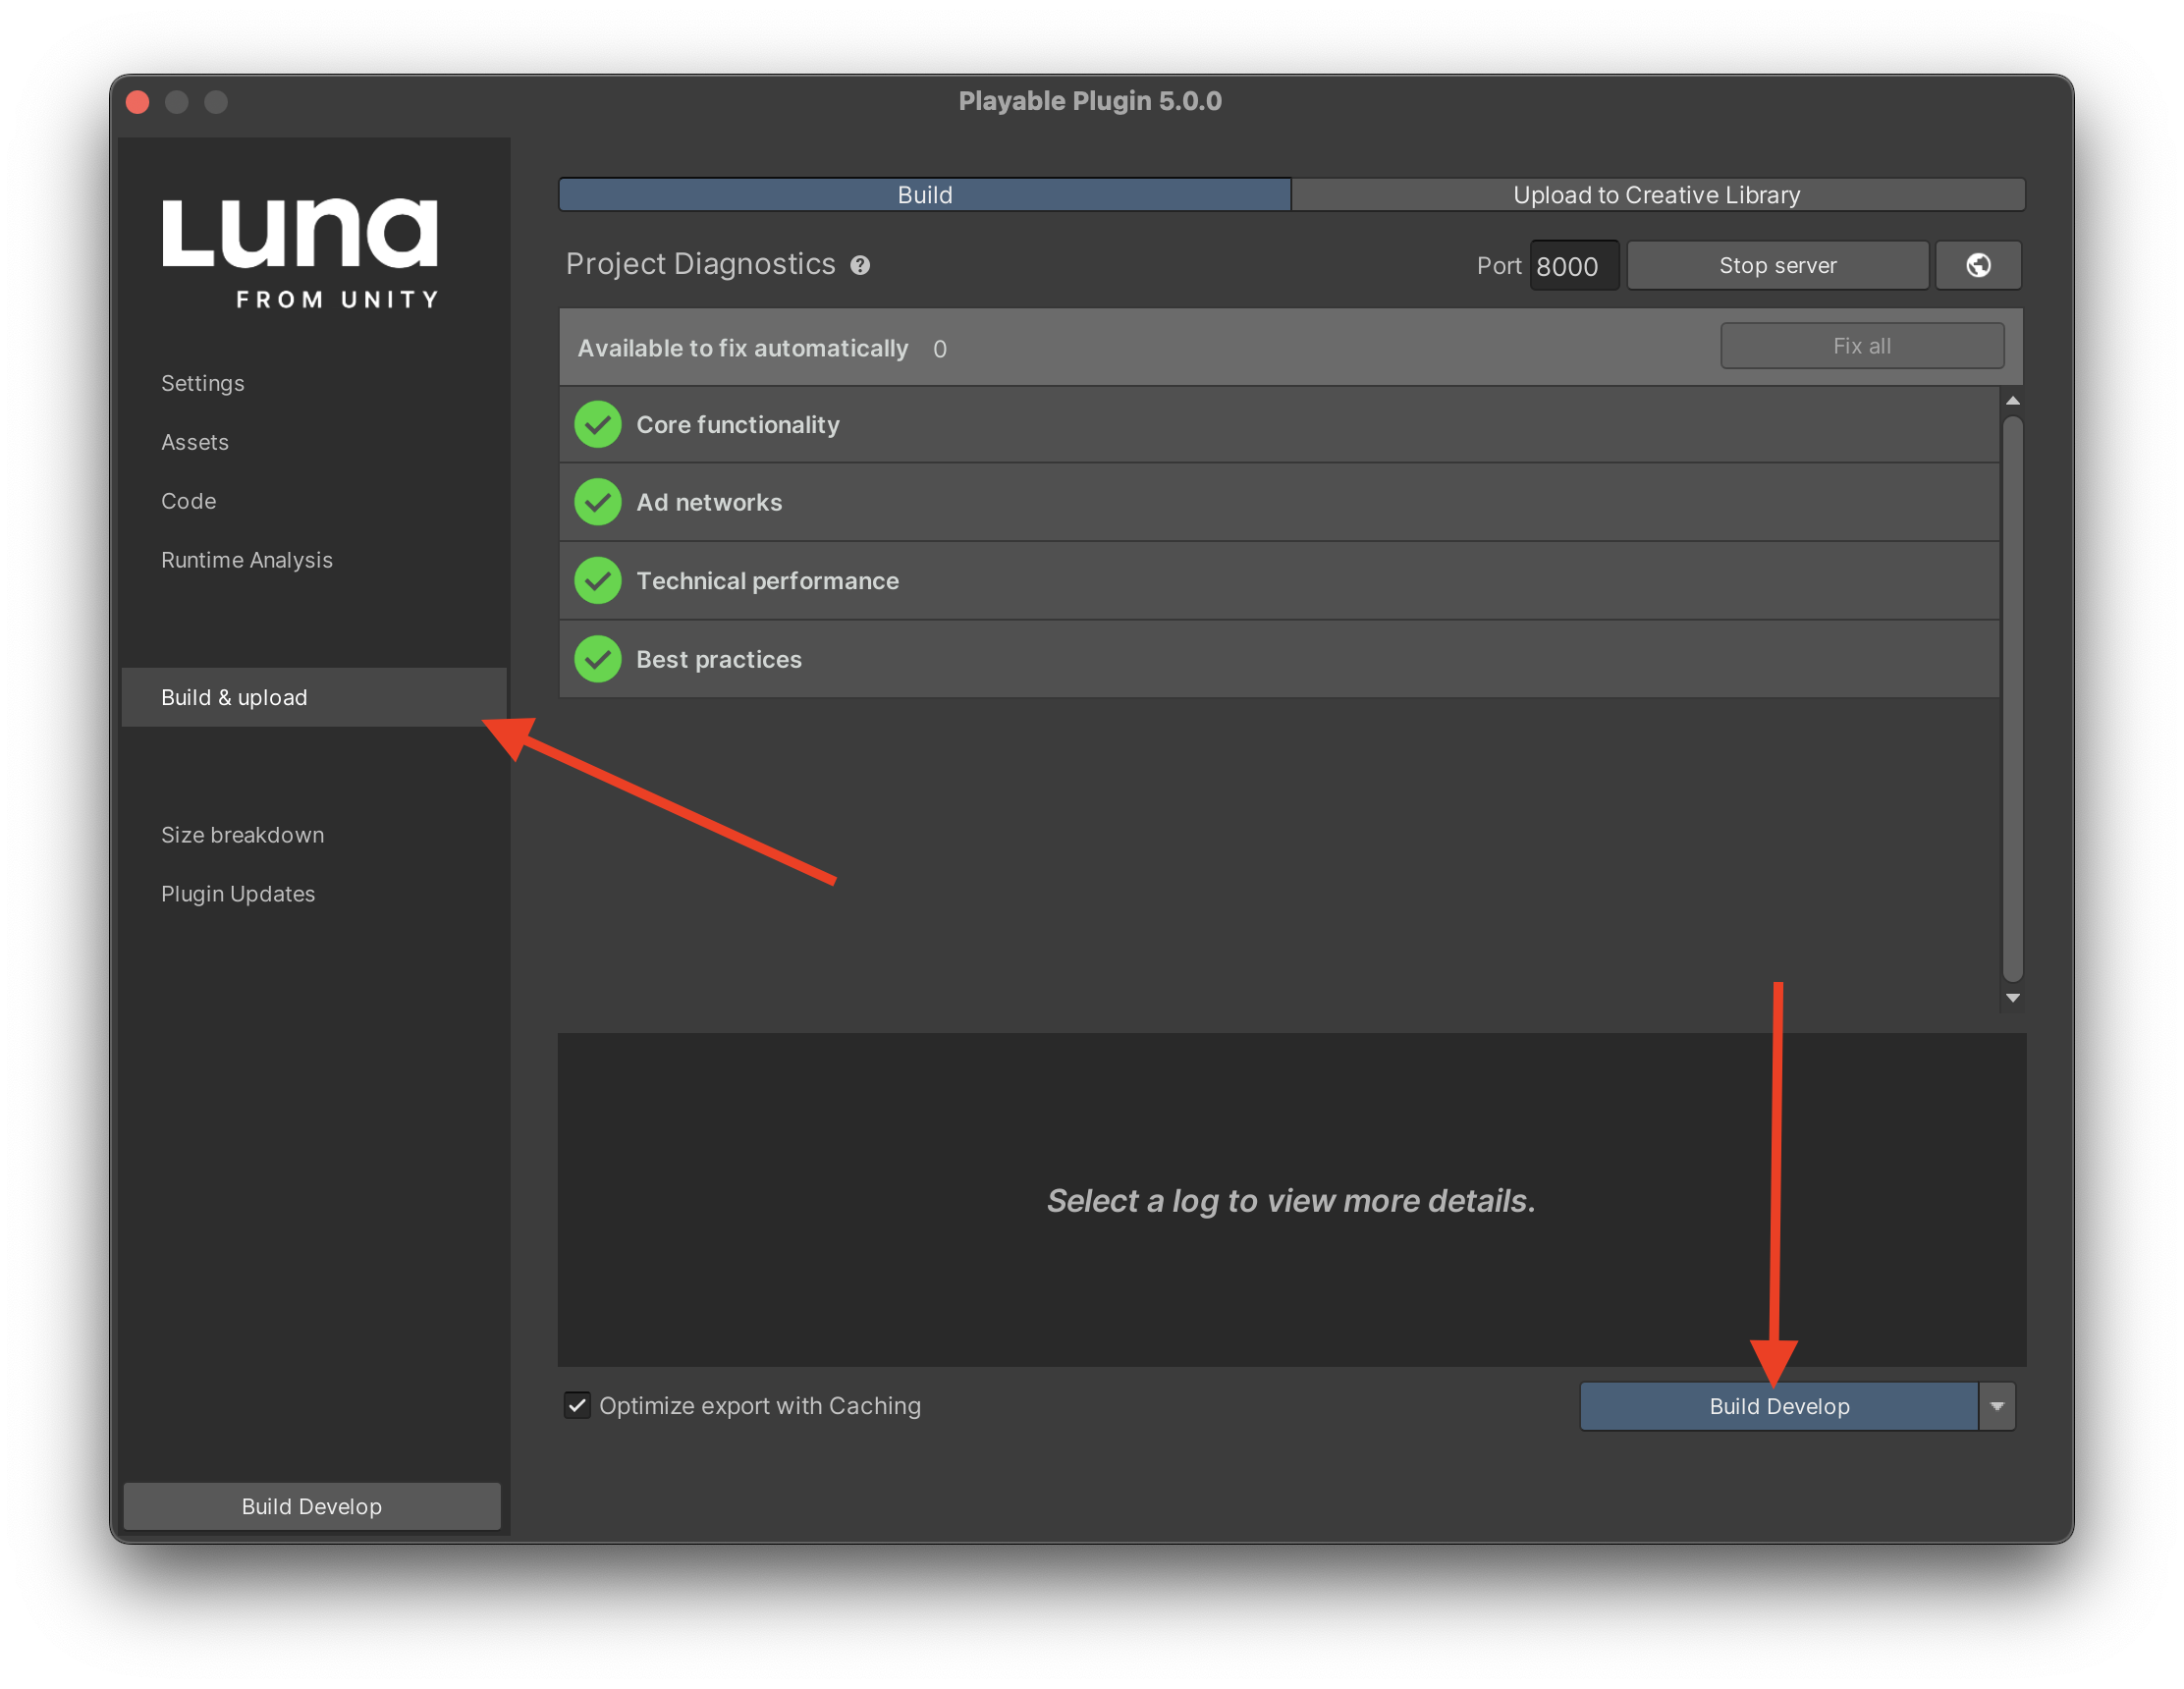
Once it's done, click on Open In Browser.

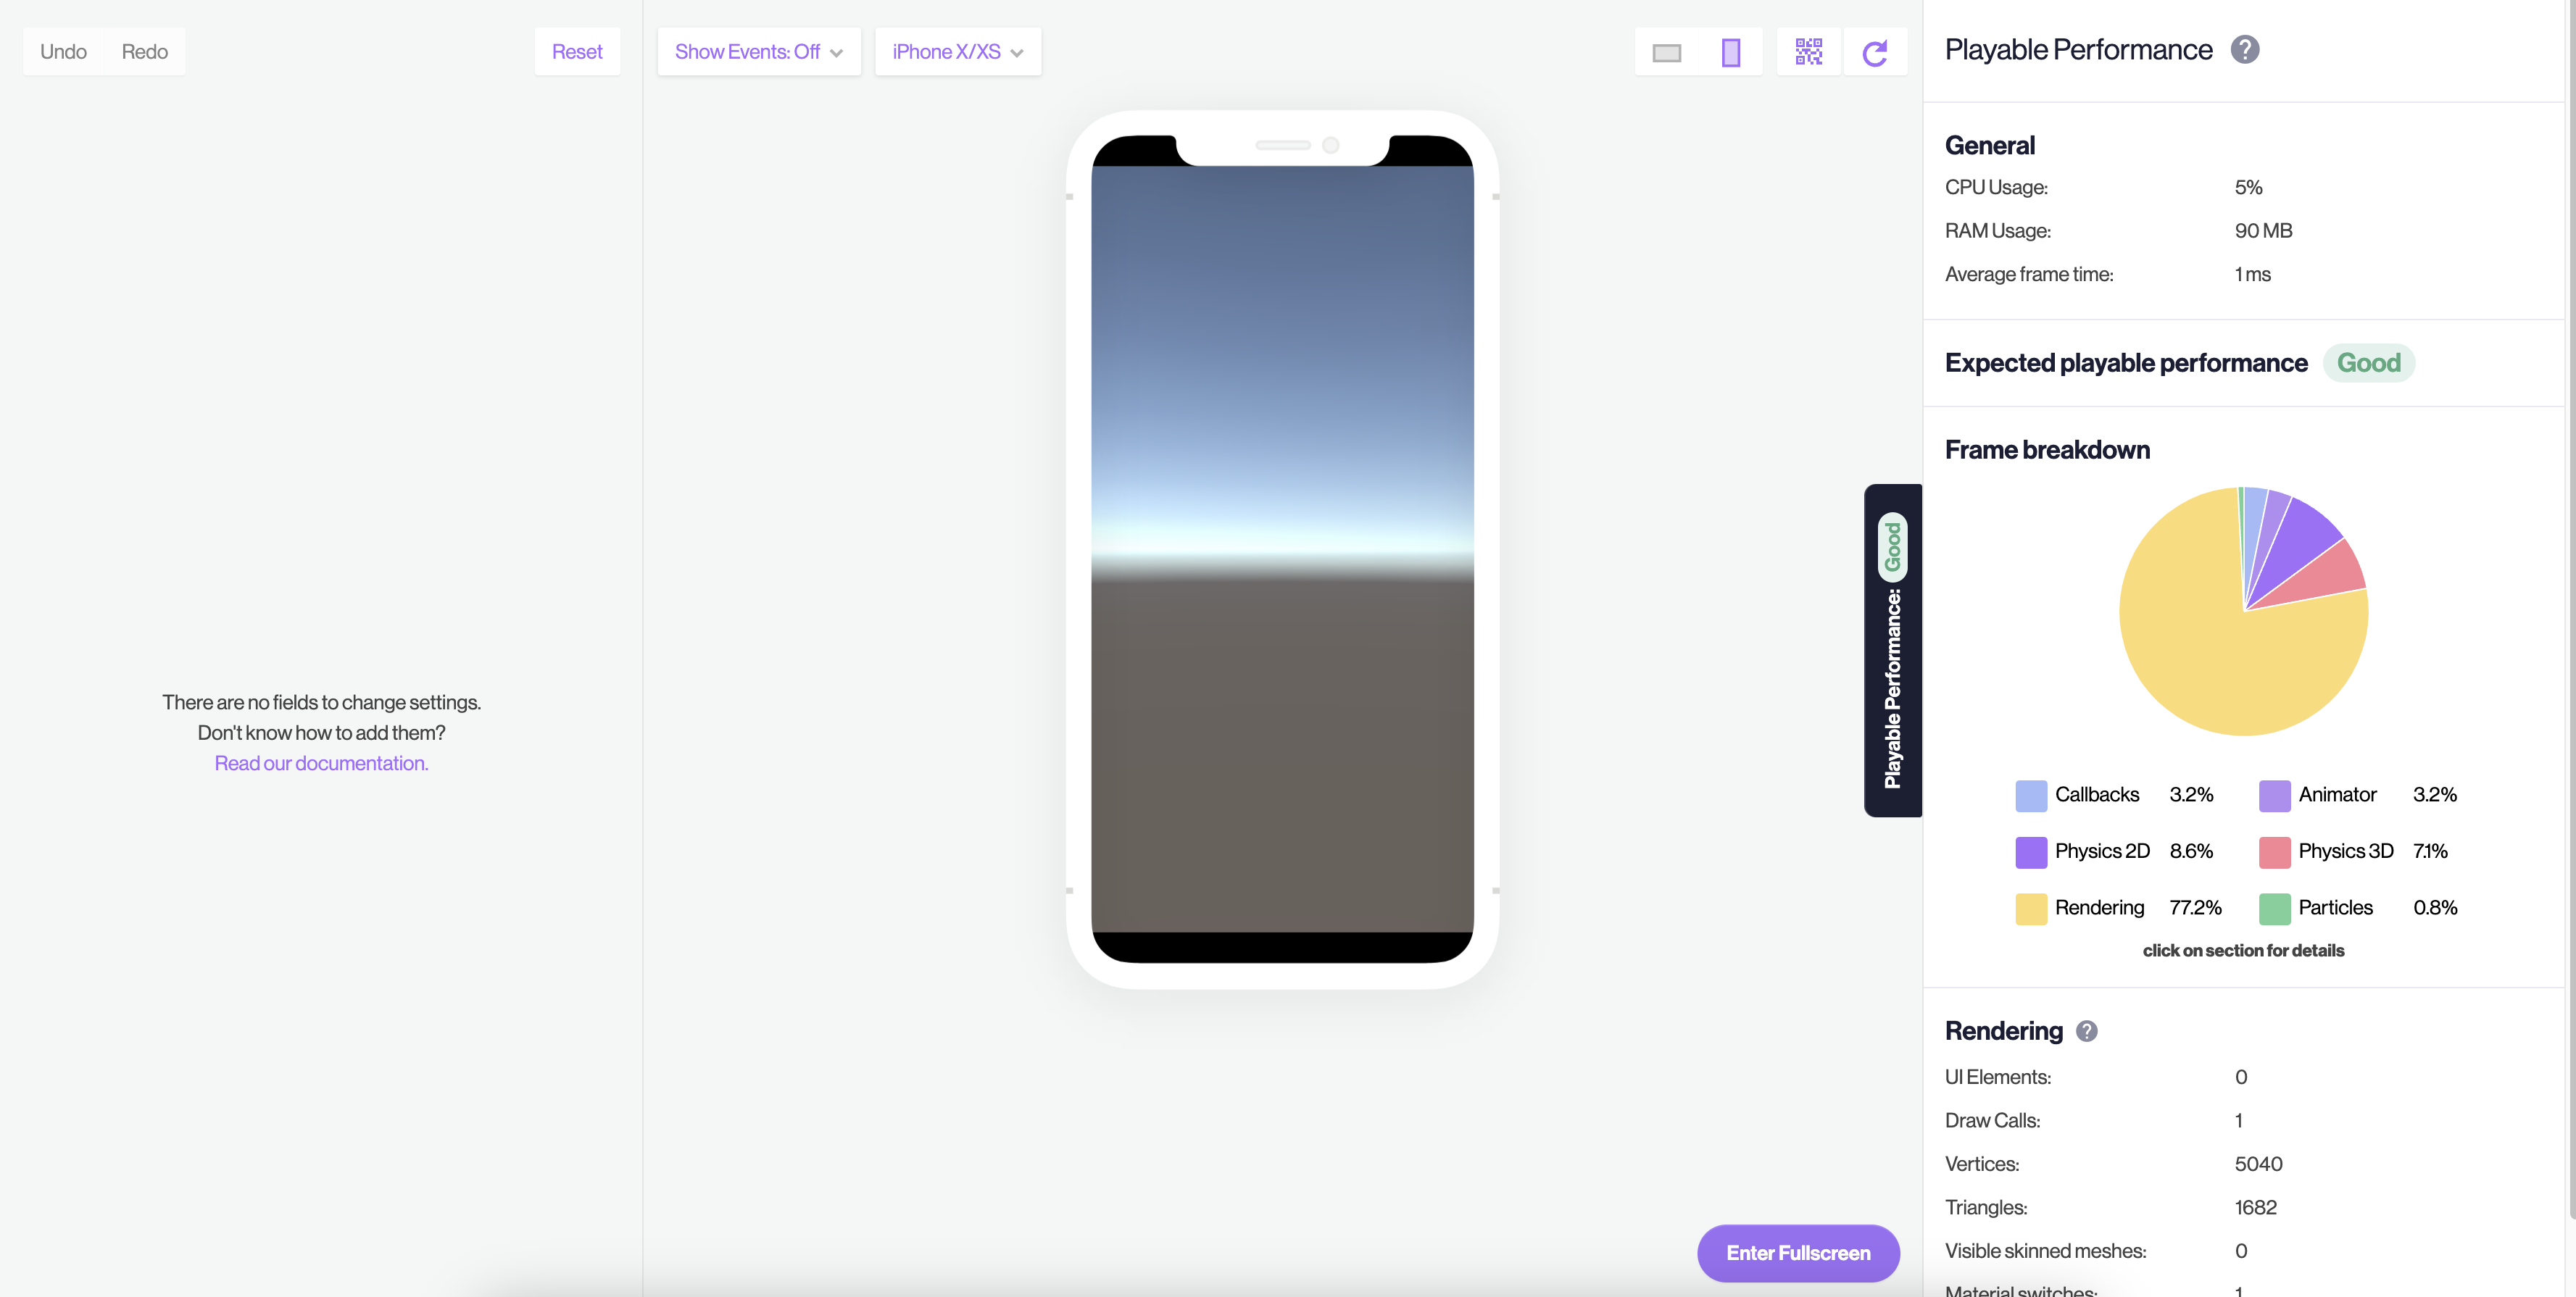
The Dev Environment will open with your scene.
4. Export Your Project To Unity Playworks
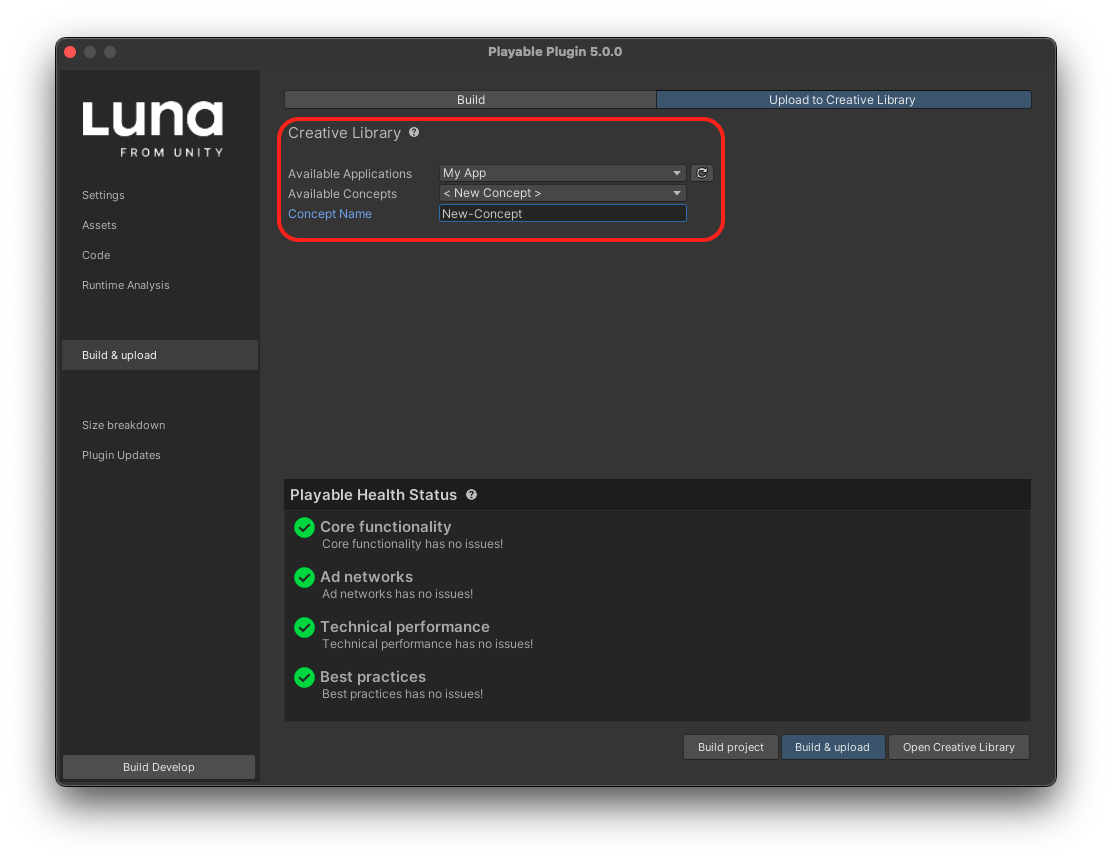
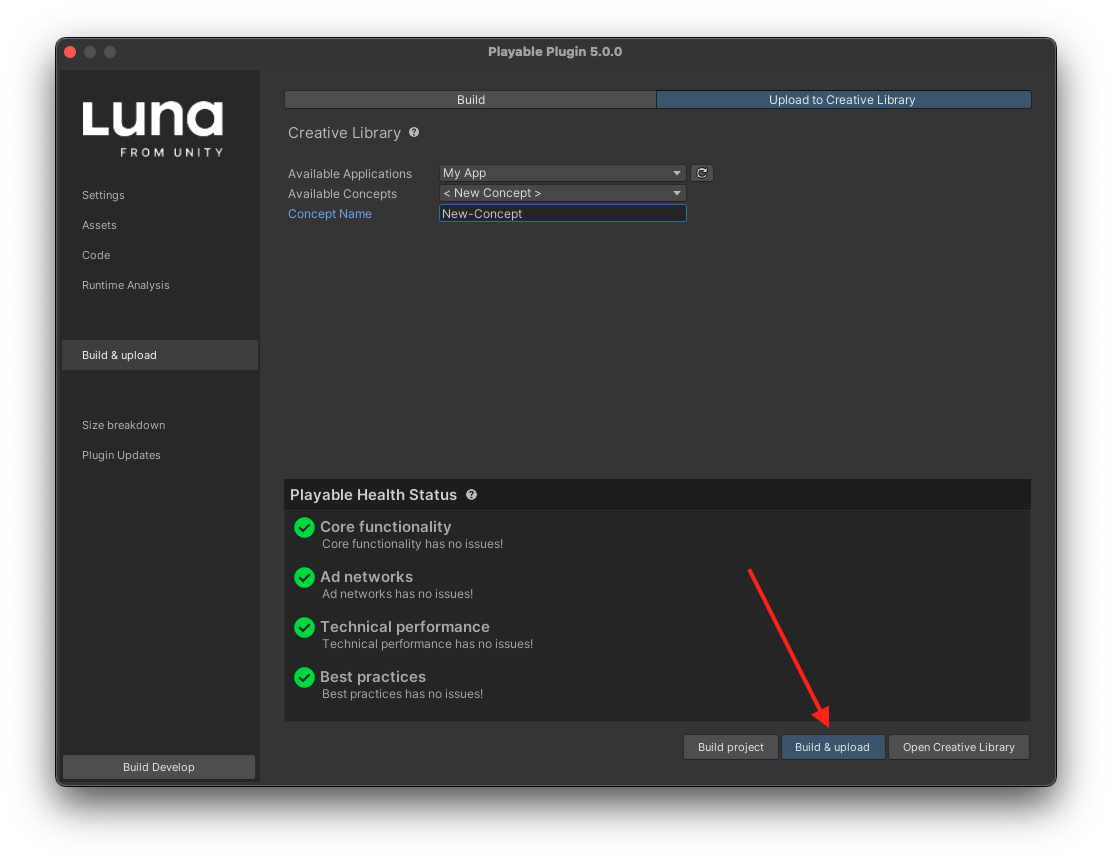
Select Build & Upload and click on the Upload to Creative Library tab.
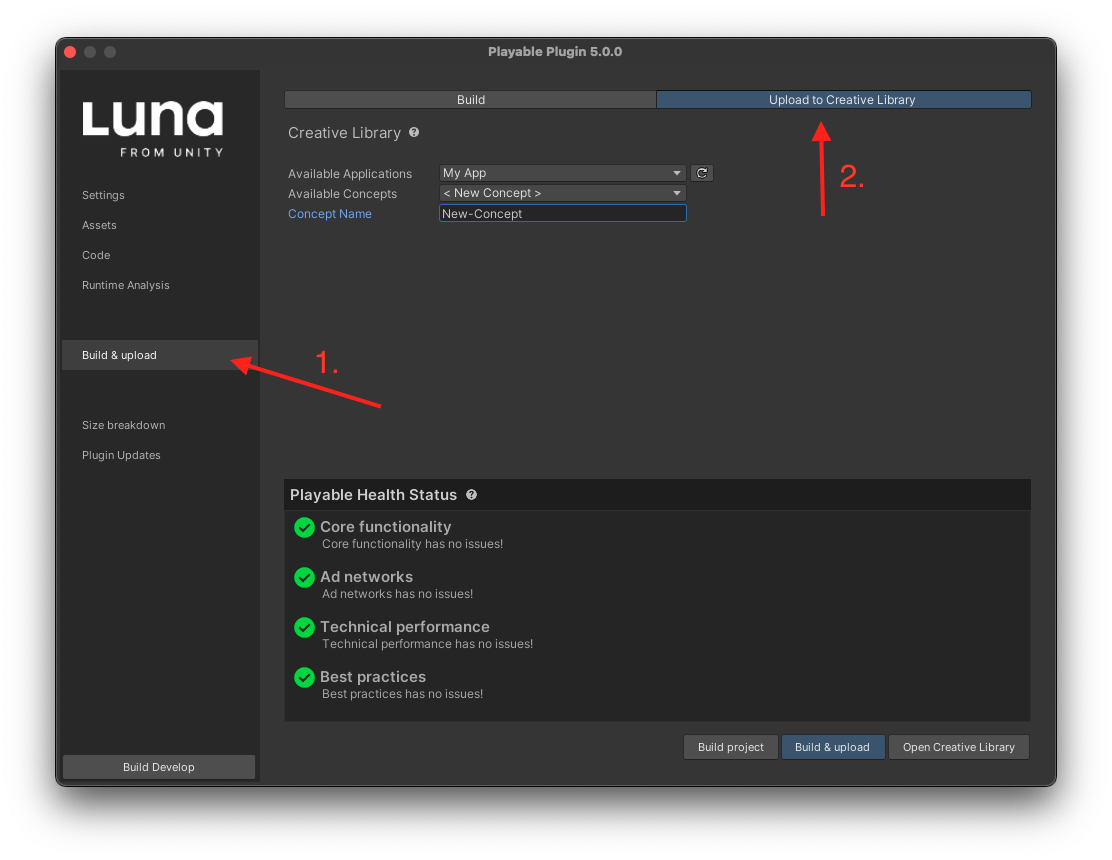
Select an application from the dropdown menu and create a new concept or select an existing one. If you select new concept, enter a name for the concept.
For more information about applications, click here.
Click on build & upload.
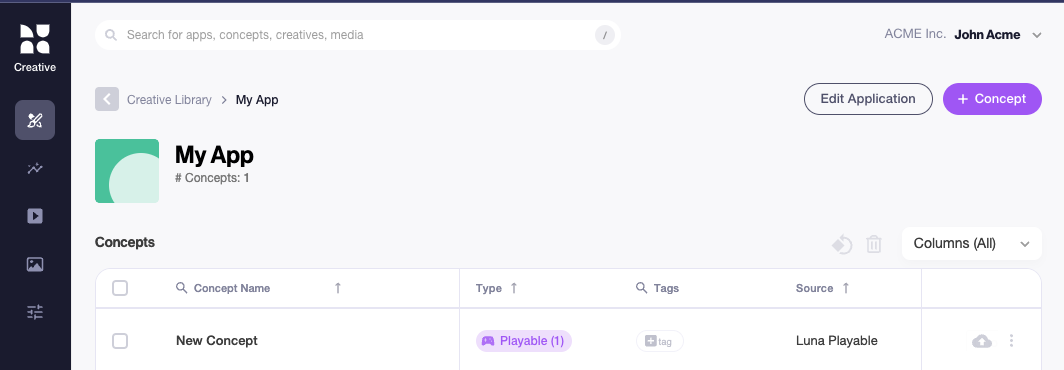
Once it's done, open Unity Playworks and click on your application. Your concept is now available within your app.
5. Download Ad Network Build
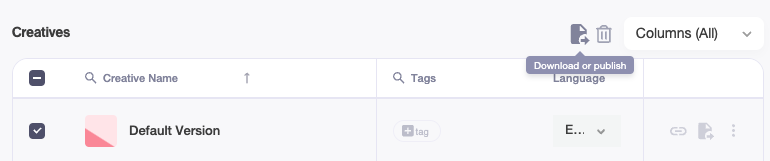
Click on your concept and select the creative you want to download.

Click on the Download or Publish button.
Select the ad networks you want to download the build for.
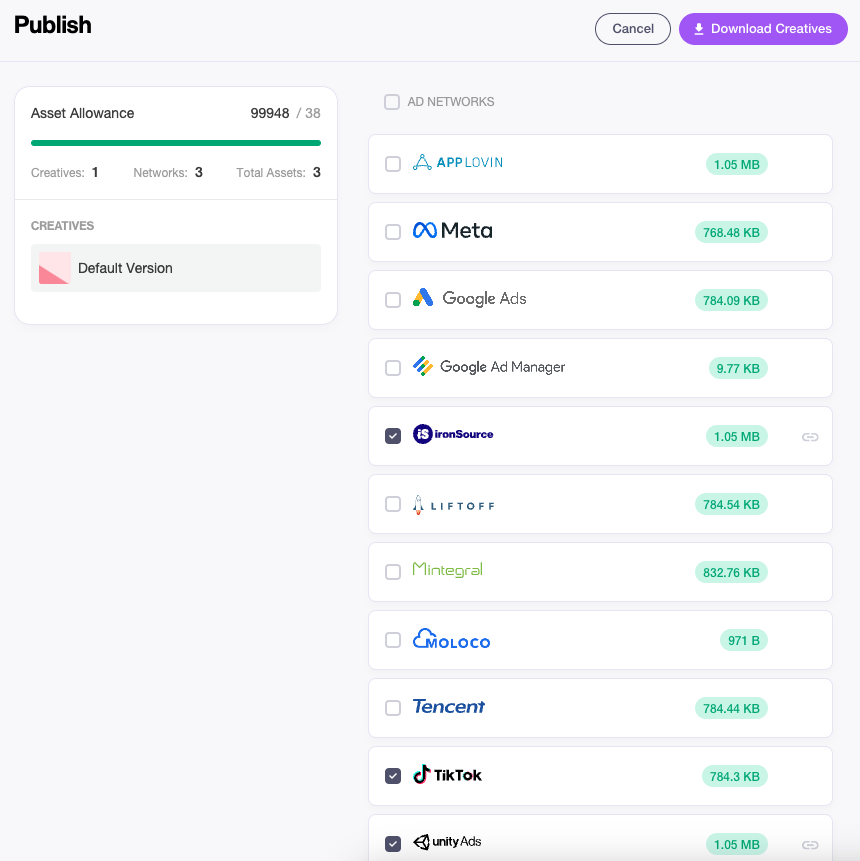
Click on Download Creatives.
Congratulations! You have successfully downloaded your first platform build!