Development Build
What is a Development Build?
A Development Build (or Develop Build) is a version of your playable specifically created for developers for testing and debugging on a local machine. It is not intended for production use, as it does not include asset compression and serves each file individually. It is designed purely for testing purposes on a local machine.
How to create a Develop Build
To follow this guide we recommend that you have completed the previous installation steps. This guide is highly recommended to perform a simple export and also familiarize yourself with main actions available in the Playworks Plugin. For the sake of simplicity, let's assume you have created an empty project with a simple scene (a cube in front of the camera will suffice) and have installed Unity Playworks Plugin in there.
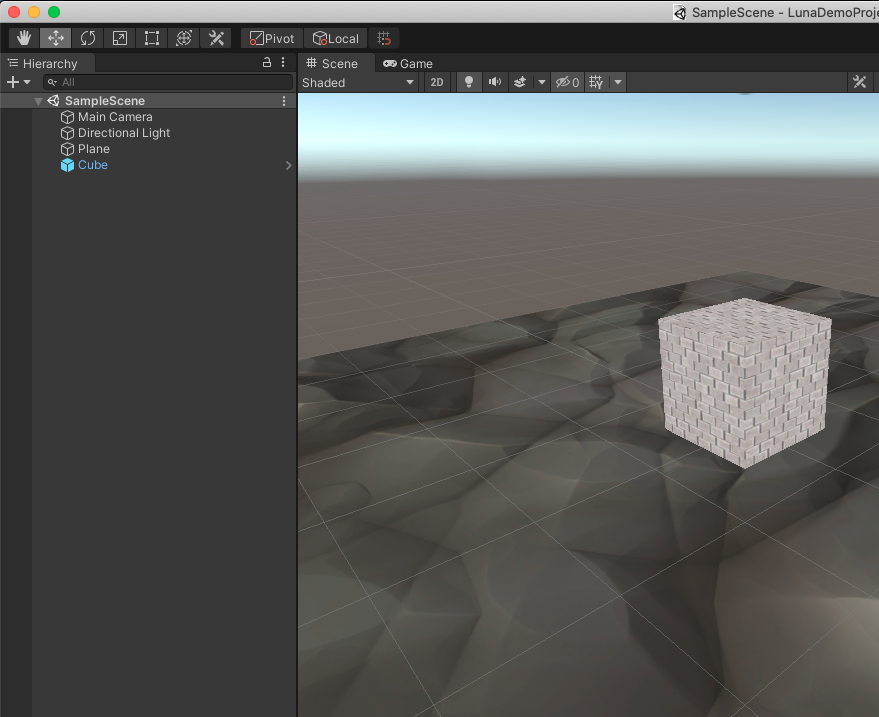
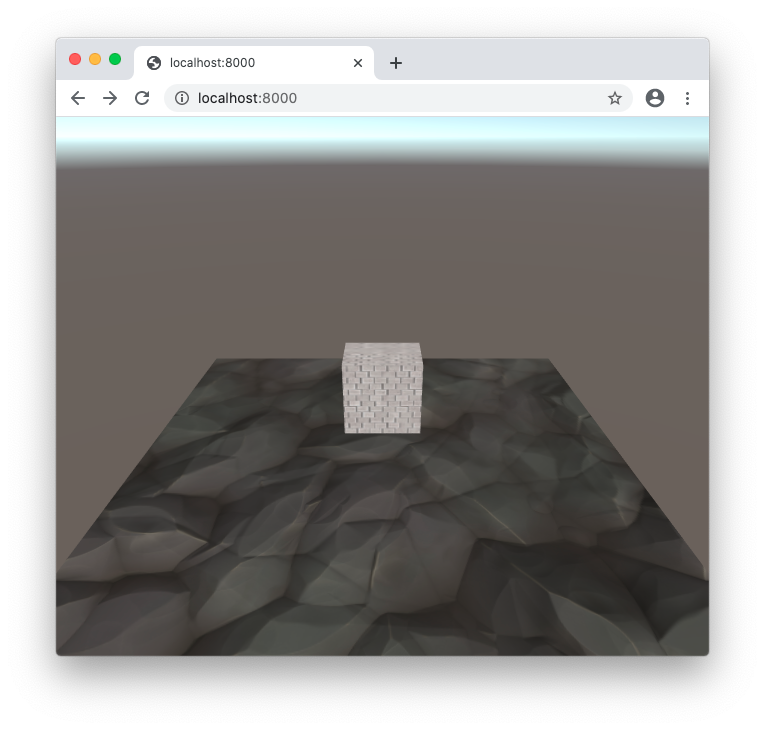
Initial Scene
Your scene then might look as follows:
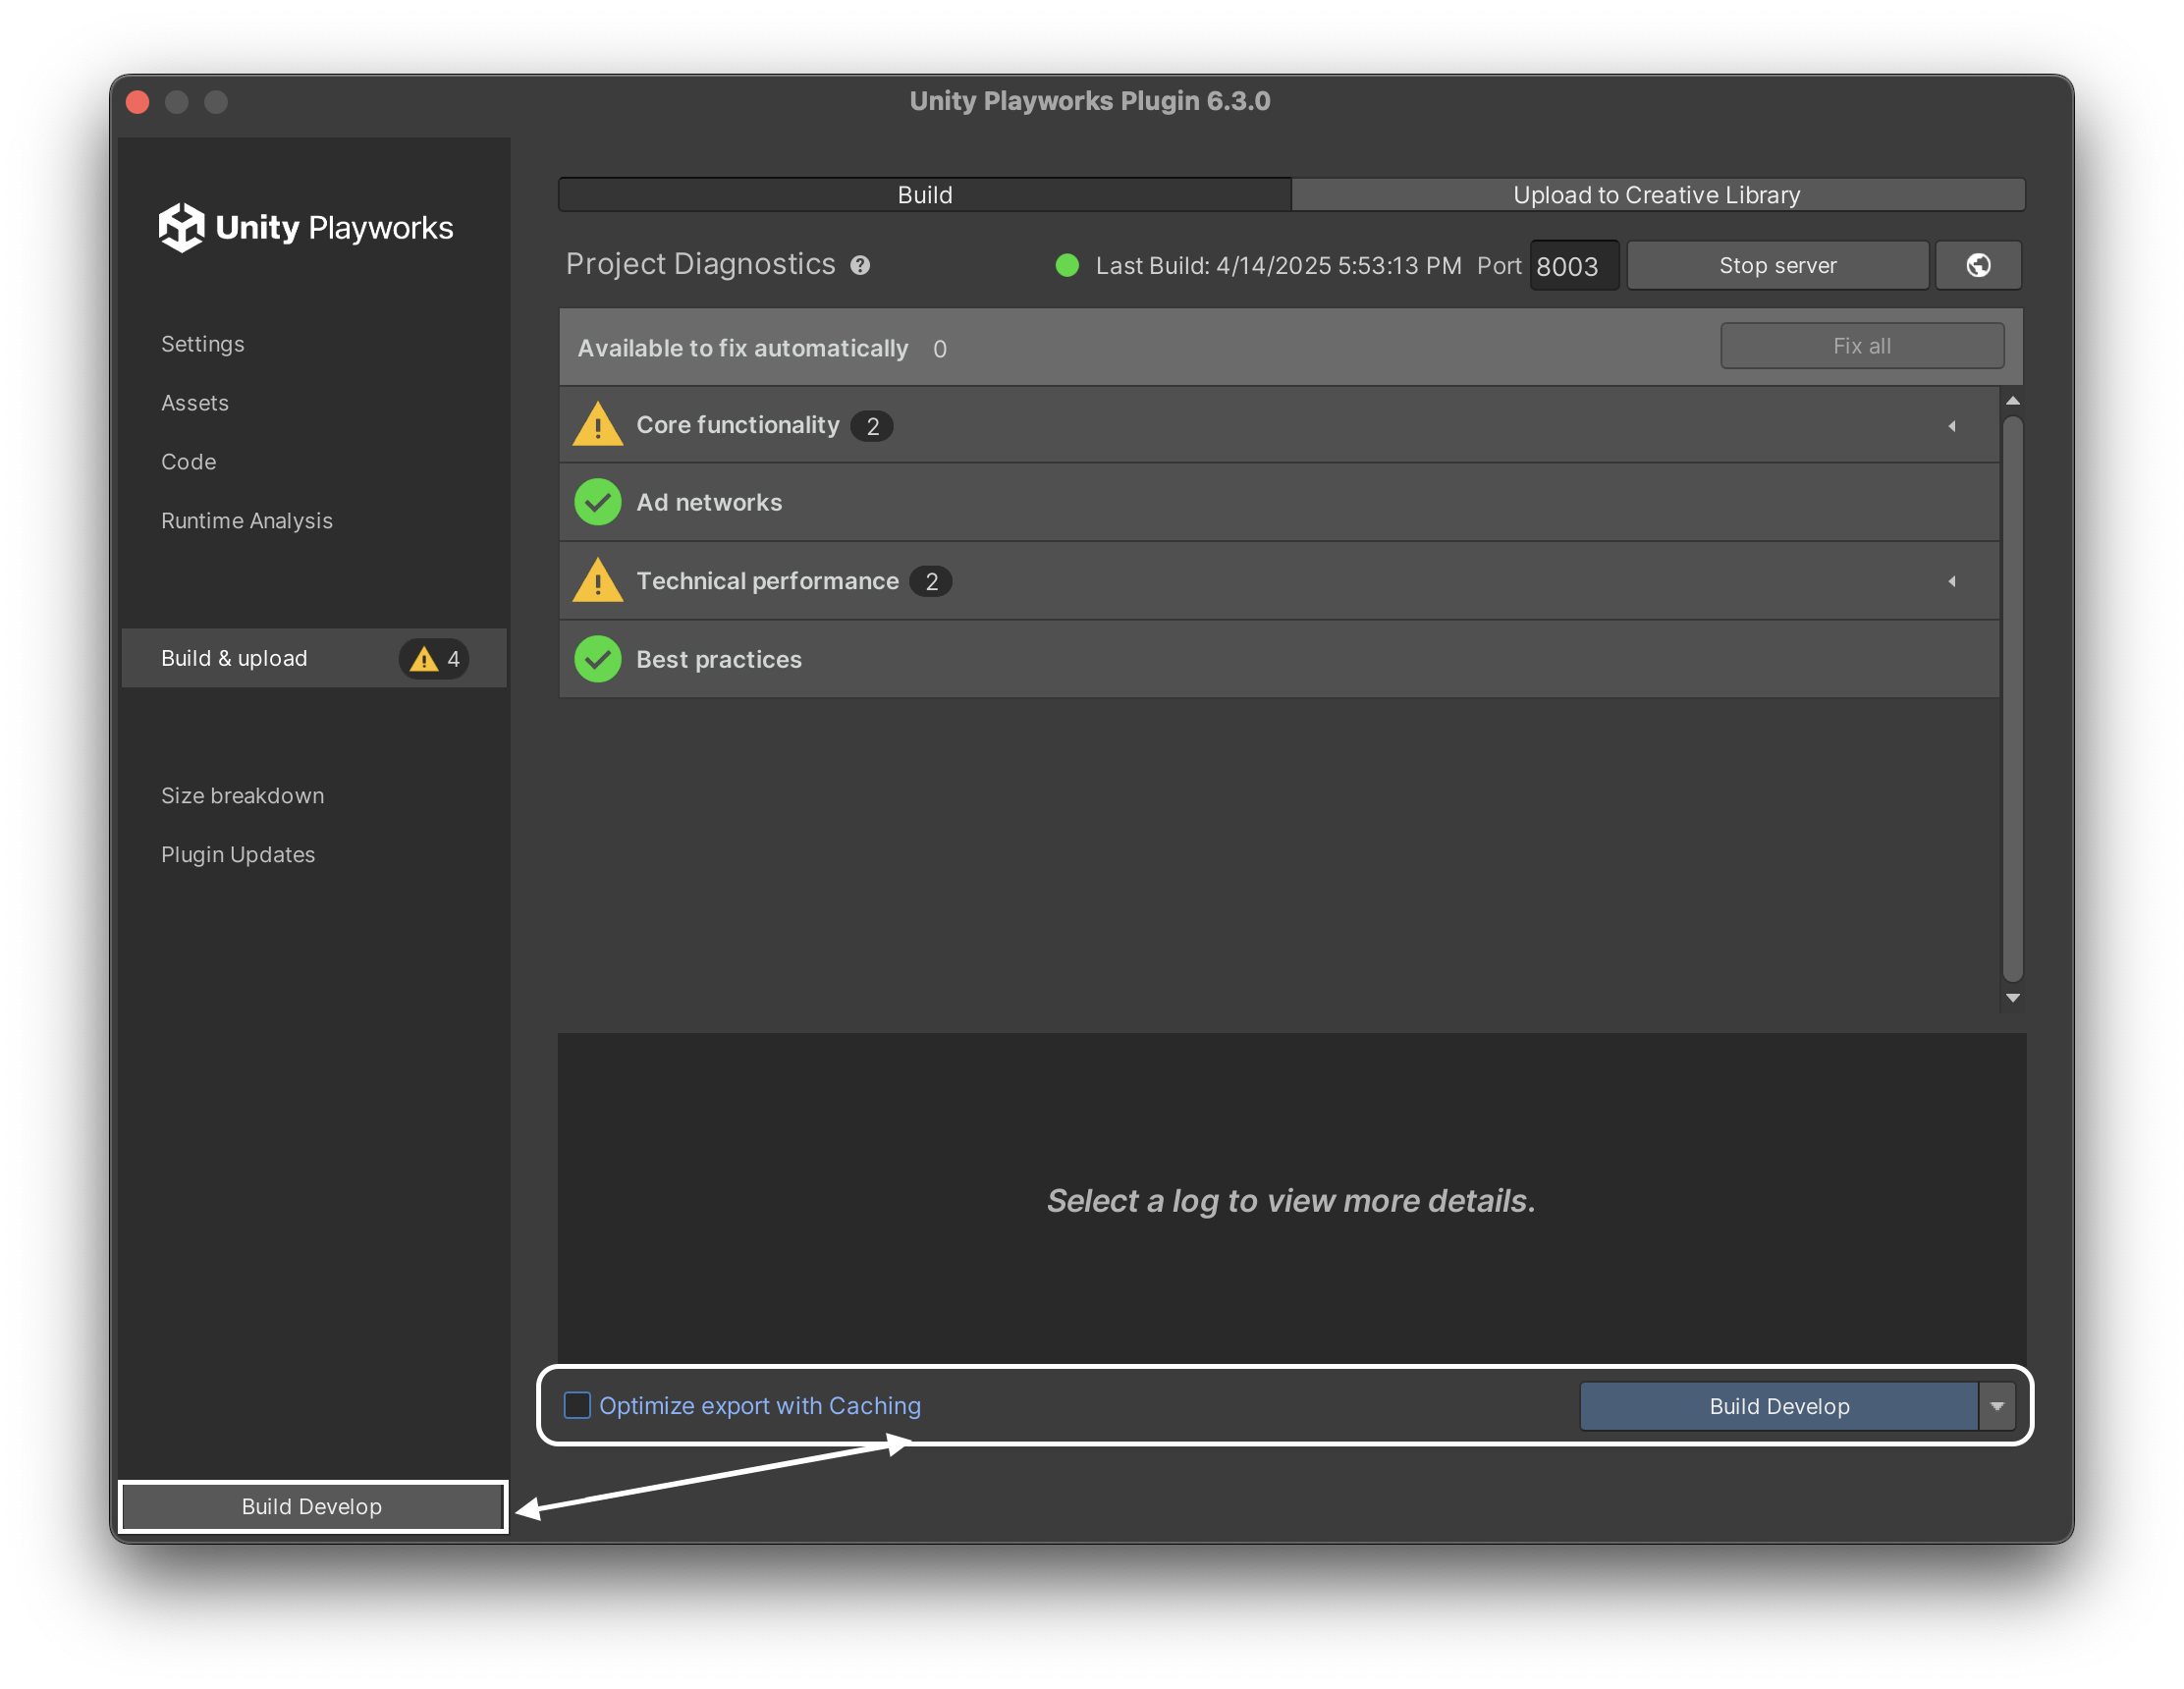
Provided that you have completed successfully the initial setup steps - which includes adding the scene to Scenes in Build and setting it up as the startup scene - you can proceed to click on the Build & Upload -> Build Develop button.
Export
After a few minutes, if the export completes properly, a small window will pop up asking you if you want to open your build in the browser or open the directory where it is located:
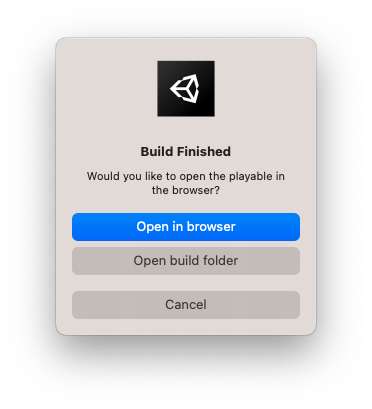
The former option allows you to test your build locally in your default browser. Here, you can try for the first time the Dev Environment and its tools. You can test your customizable fields and get an idea of how your playable can perform out in the wild thanks to the Performance Indicator and our Startup Argument.
infoIt is critical to test your creative on the device you are interested in to obtain more precise results. Using the Developer Environment, you can easily test your creative on other devices. Click here for more information.
The latter option opens your default file navigator (like Explorer on Windows or Finder on Mac) and show you the
LunaTempfolder. You can notice different subfolders in this section. You need to open only thestage4folder which contains your build. Your development build is in thedevelopsubfolder.You can start any web server from that folder (i.e.
http-serverfrom Node's npm), but for your convenience Unity Playworks Plugin provides a built-in functionality for doing so.
Due to the way Unity Playworks Plugin loads resources in development builds, simply opening the web page in your browser would render nothing but a black screen, that is why it is required to run a real web server out of develop folder to make Unity Playworks Plugin development builds work. See below for quick and easy way to do so.
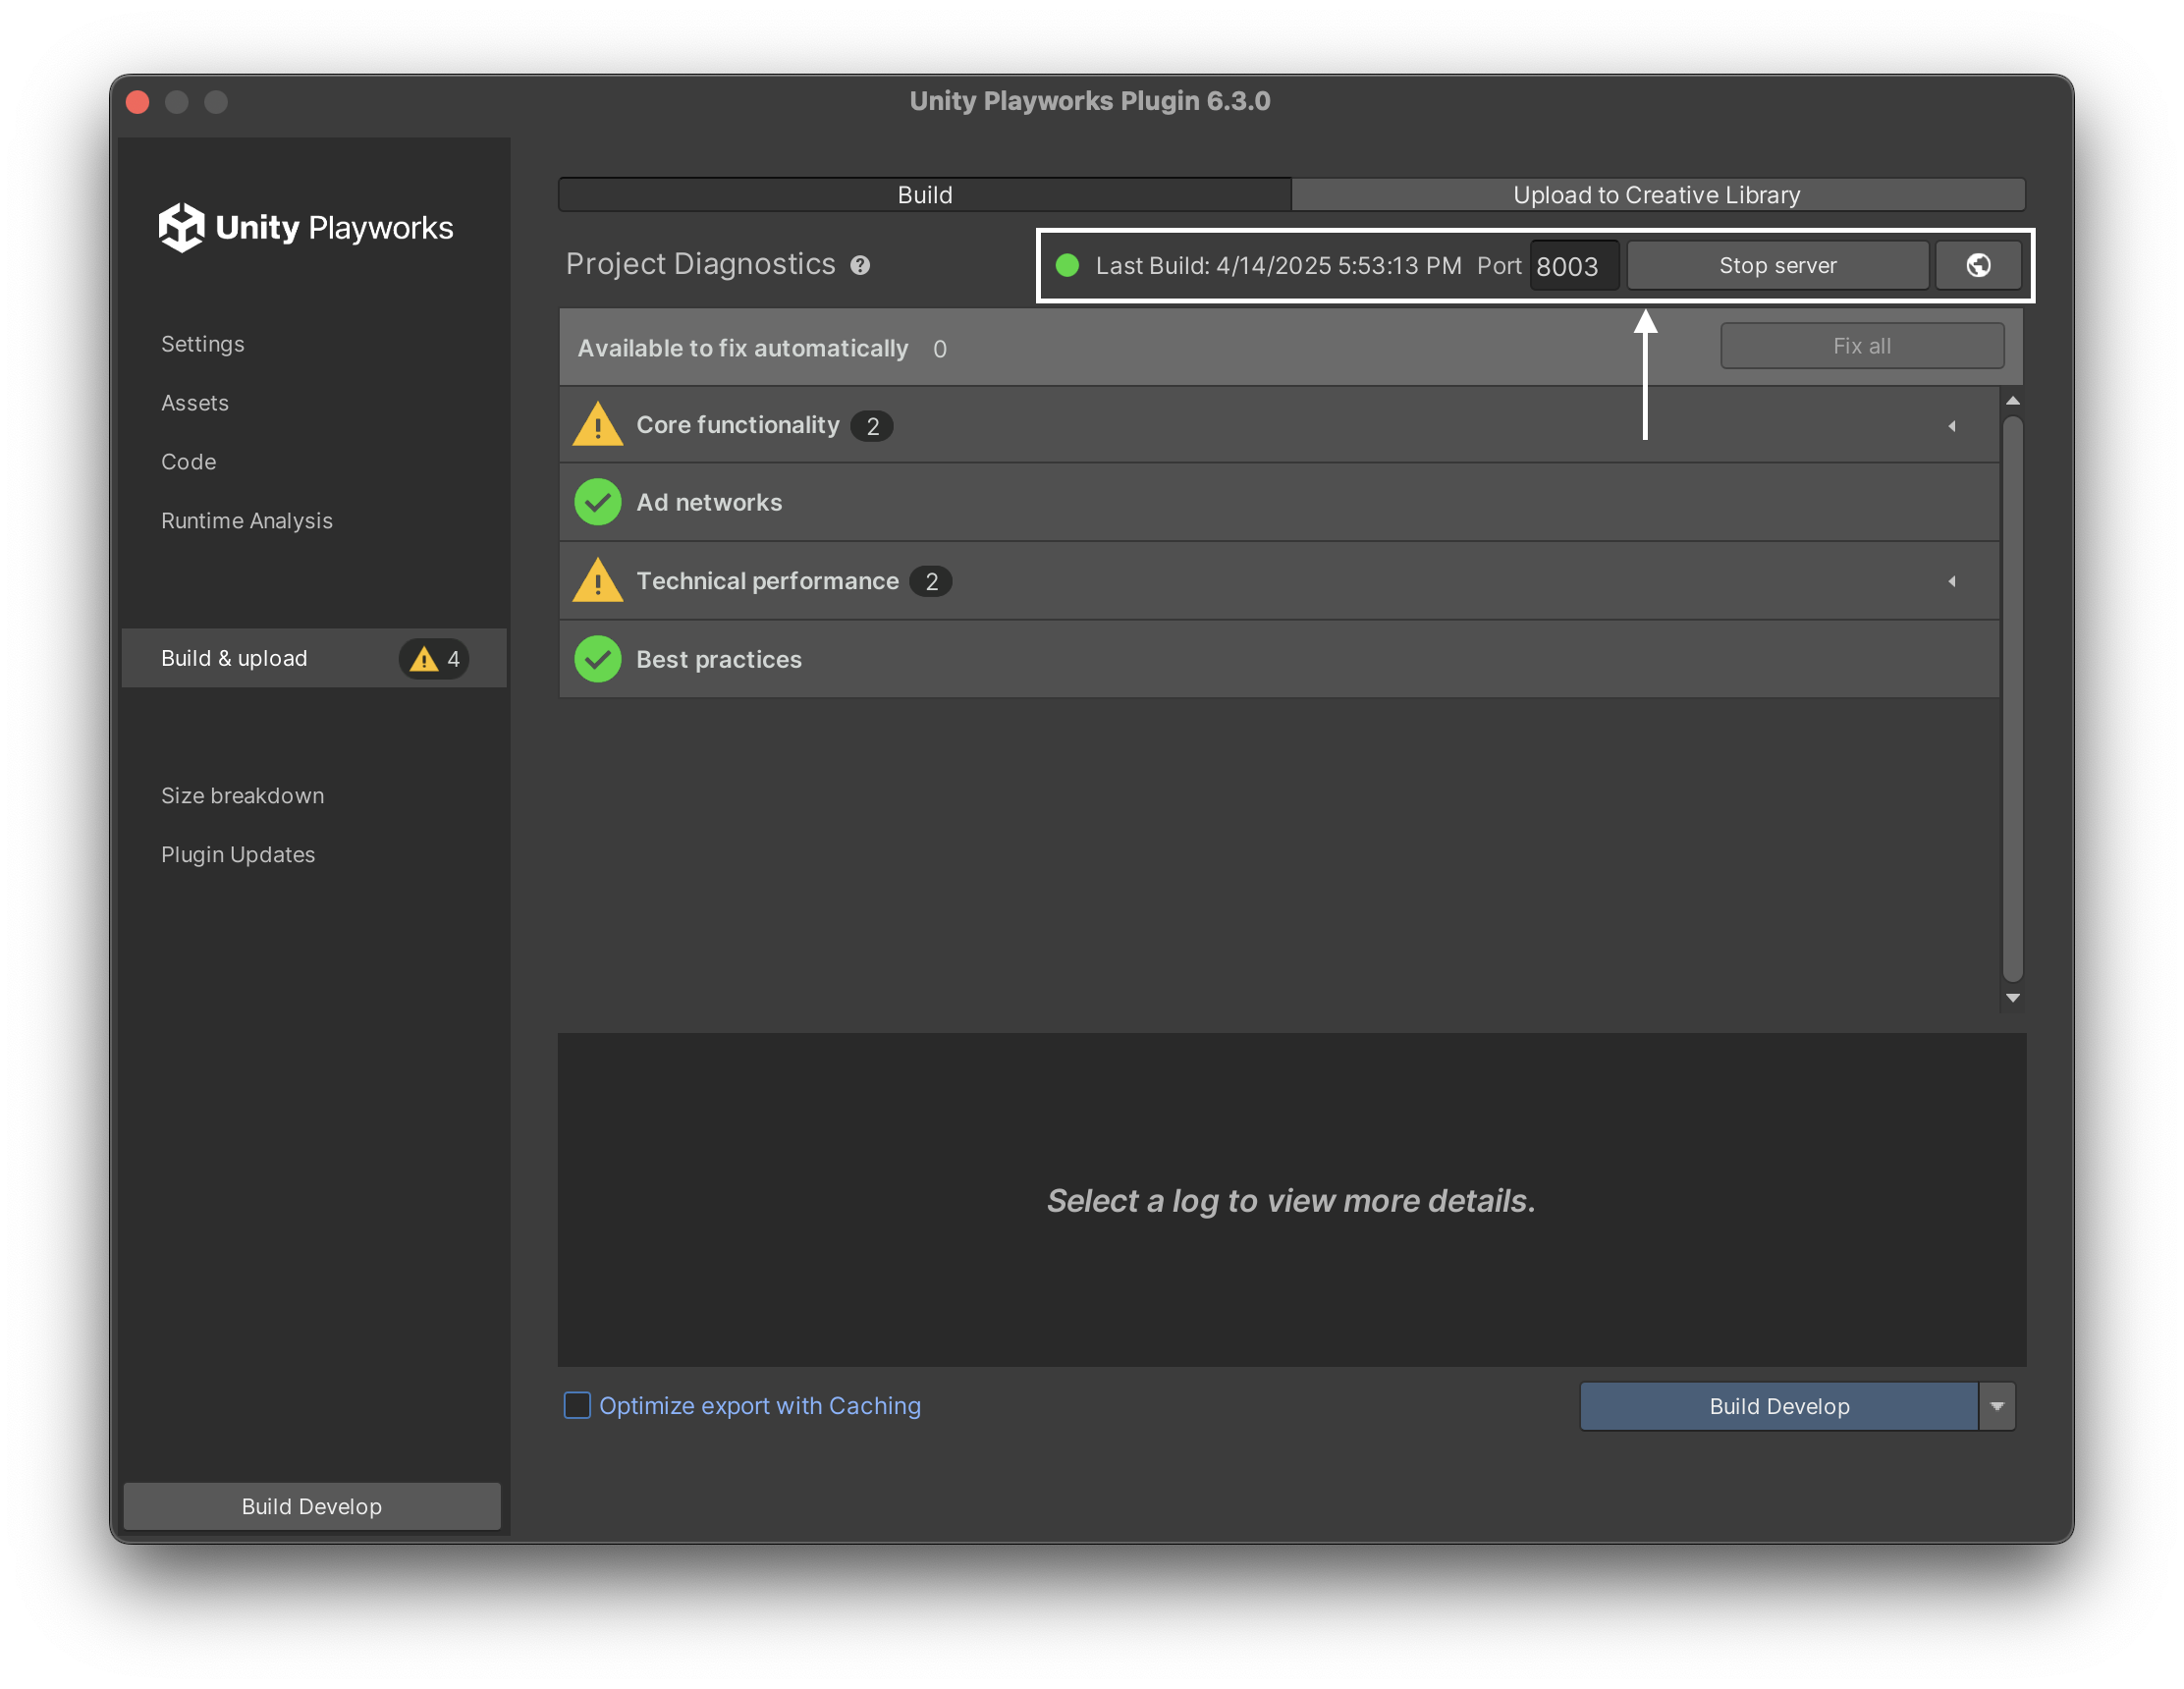
To see your scene in the browser, get back to Plugin UI, navigate to Build & Upload tab on the left, and click Start server (click Stop server first if it is already running):
This will start an HTTP server in background and will launch a default browser with your build running in it:
Now you successfully created your first develop build! You can now start developing your playable and test it in the browser.
Your playable will launch in the Development Enviroment where you can test your customizable fields and get an idea of how your playable can perform out in the wild thanks to the Performance Indicator and our Startup Argument.
Debugging
If you wish to troubleshoot any errors with your creative, you can consult our debugging guide that provides you with assistance.